Character Generator Controller
Overview
Rundown Creator's built-in Character Generator Controller allows you to playout CGs entered into Rundown Creator on supported character generators.You can insert CGs into scripts in Rundown Creator using code like this:
<cg id="43" template="locator" location="Los Angeles">
<cg id="8" template="lowerthird" line1="John Doe" line2="Witness">
<cg id="101" template="ots" text="Bank Robbery" graphic="BankRobbery.png">
<cg id="8" template="lowerthird" line1="John Doe" line2="Witness">
<cg id="101" template="ots" text="Bank Robbery" graphic="BankRobbery.png">
Then, load up the Character Generator Controller. It'll create a playlist of all of the CGs in your show, and update automatically in real-time as changes are made.
Using just the spacebar on your keyboard, you can then playout each CG, putting them in preview first by pressing the spacebar once, and then transferring them to program by pressing the spacebar again.
Supported character generators
- Chyron character generators (requires Lyric or Lyric PRO)
Setup
There are three steps in the setup process:Step One: Installing the Character Generator Controller relay server application
Step Two: Creating CG templates on your character generator
Step Three: Creating script templates in Rundown Creator for each CG template
Inserting CGs into scripts
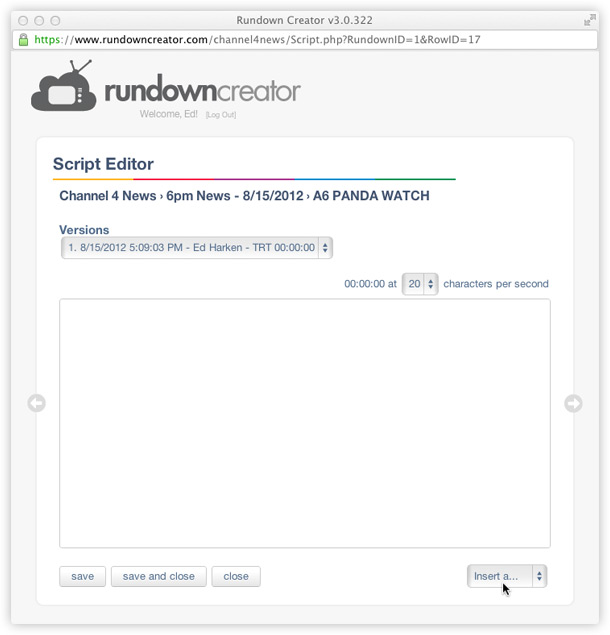
Once you've setup script templates in Rundown Creator for all of the CG templates on your character generator, inserting CGs into scripts is easy.1. In the Script Editor, simply click on the "Insert a..." drop-down menu and select the type of CG you'd like to insert.
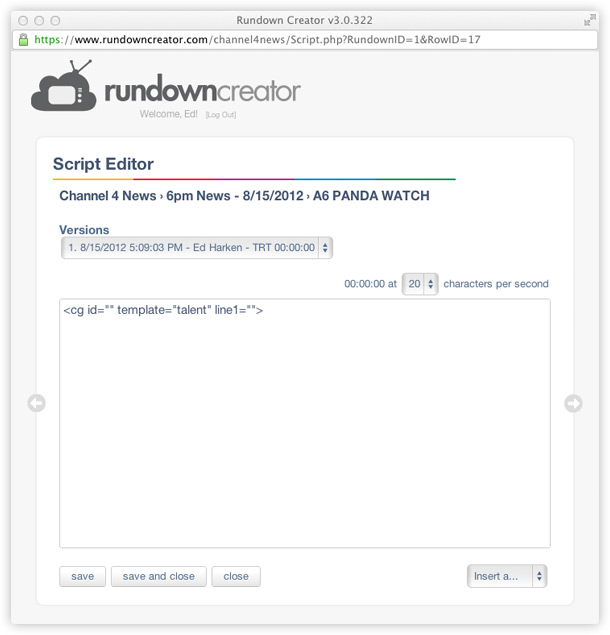
The code for the type of CG you selected will be inserted into your script.
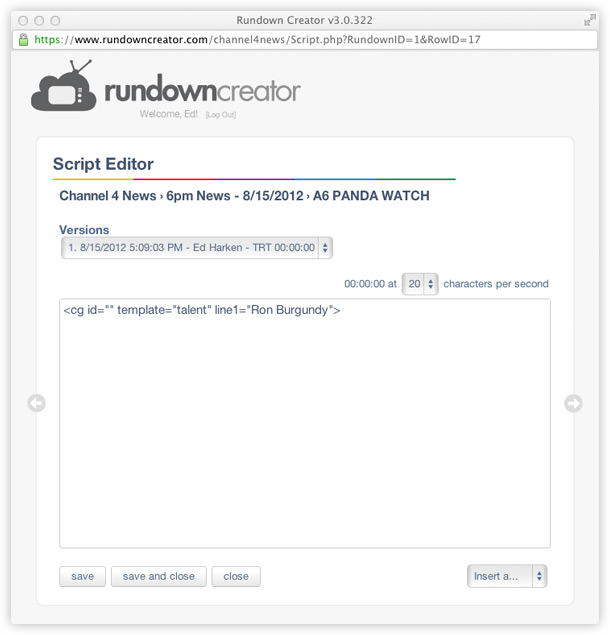
2. Enter any text or graphics that you want to appear in the CG.
Graphics
When referencing a graphic file in a CG, simply type its filename (with its file extension). For example:
<cg id="101" template="ots" text="Bank Robbery" graphic="BankRobbery.png">
The graphic file itself should be stored in the images directory on your character generator. If you're using a Chyron character generator, you can define what directory is the images directory in Lyric by going to the "Config" menu, selecting "Preferences" and clicking on the "Default Paths" tab.
Backslashes (\)
Due to technical limitations of the Chyron Intelligent Interface protocol (which is not only used to communicate with Chyron character generators), you cannot insert backslashes (\) in CGs. The one exception to this is when using double-quotes ("). They must be properly "escaped" with a preceding backslash (\). For example:
<cg id="654" template="lowerthird" line1="Walter Isaacson" line2="Author, \"Steve Jobs\"">
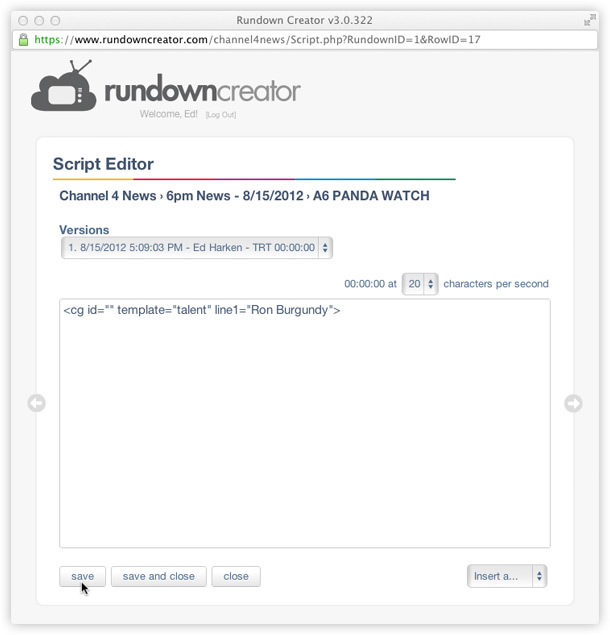
3. Click the "save" button to save your script.
Using the Character Generator Controller
When you're ready to begin playing out CGs on your character generator, load up the Character Generator Controller.1. On the rundown page, click on the title/date of your rundown to bring up the rundown menu (shown below).
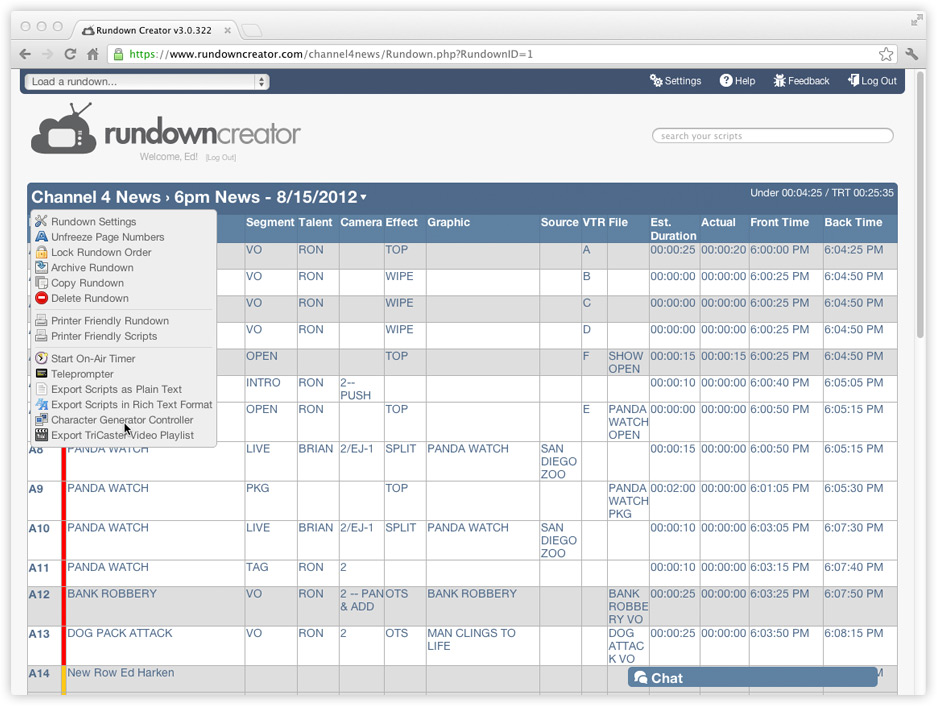
2. Click on the link that says "Character Generator Controller."
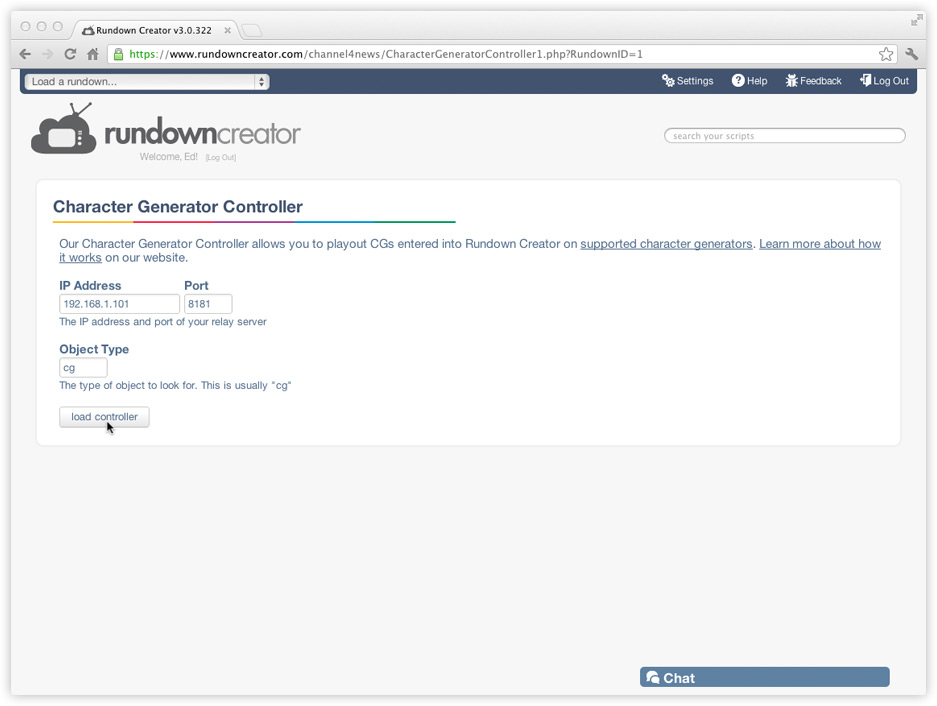
3. Rundown Creator will ask you to confirm the IP address and port your relay server is running on, and the object type you'd like to playout. If you've used the Character Generator Controller before, these should already be filled in, so just press the "load controller" button.
4. When the Character Generator Controller loads, you'll see a playlist of all of the CGs in your show. It'll update automatically, in real-time, as changes are made.
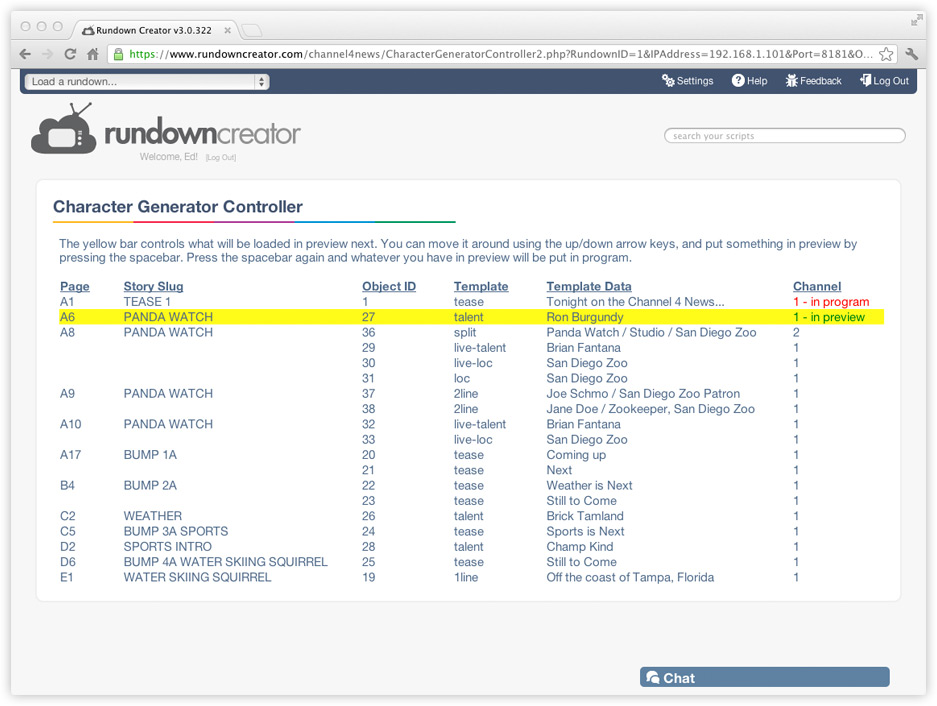
The yellow line controls what will be put in your character generator's program/preview outputs next, and you can move it around using the up/down arrow keys on your keyboard, or by clicking on a CG in the playlist.
With Chyron and Compix character generators, if you press the spacebar while the yellow line is on a CG that is not already in preview, the Character Generator Controller will put it in preview. If you press the spacebar while the yellow line is on a CG that is already in preview, the Character Generator Controller will transfer it to program and the yellow line will advance to the next CG.
Troubleshooting tips
If you get an error saying, "There was a problem connecting to your Character Generator Controller's relay server," while using the Character Generator Controller, check that...
1. The IP address and port you're using are correct
2. Your relay server is running
3. Lyric is running, if you're using a Chyron character generator
4. The computer you're trying to use the Character Generator Controller from is on the same network as the relay server, or can somehow otherwise access it
